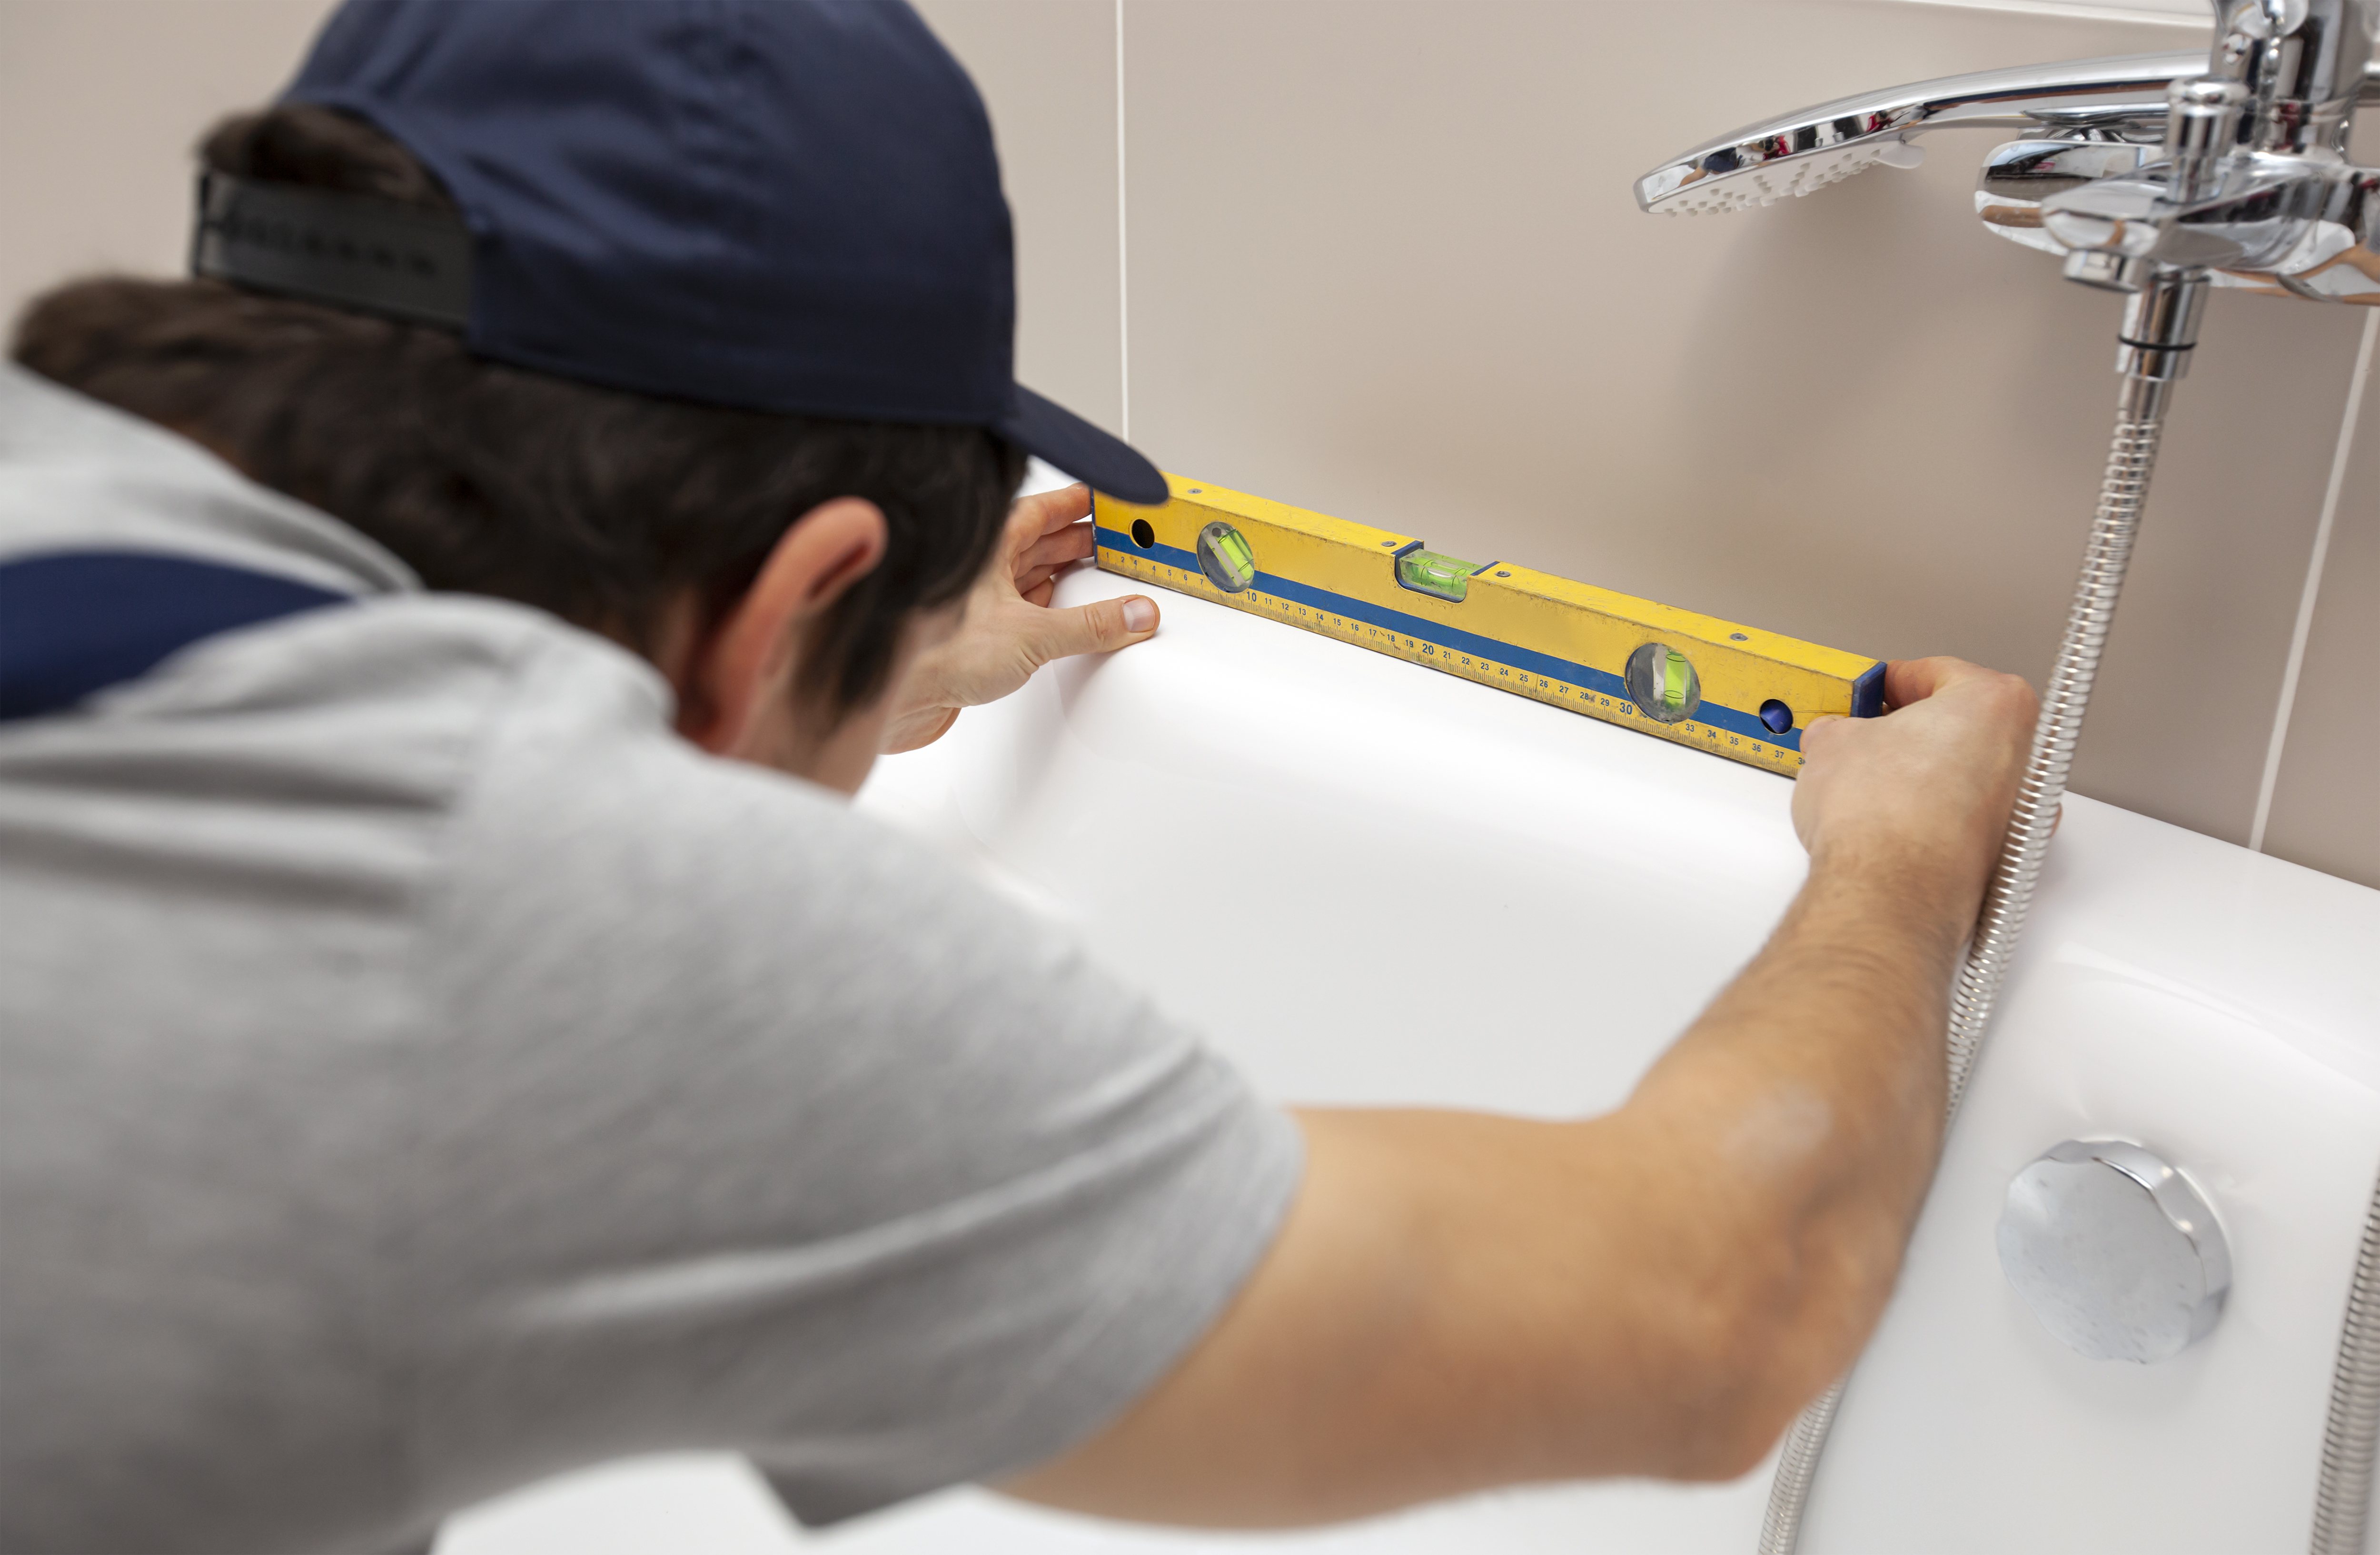
How to Repair an Enamel Bathtub: Expert Tips
How to Repair an Enamel Bathtub: Expert Tips
Enamel bathtubs remain a popular choice for many households due to their durability and aesthetic appeal. Despite modern technological advancements that increase their lifespan, enamel can still get damaged. Heavy objects falling, sharp impacts, or improper maintenance can cause chips or cracks in the coating. This article provides expert advice on repairing an enamel bathtub and step-by-step instructions to restore its original appearance.
Main Causes of Enamel Bathtub Damage
The enamel layer is durable yet relatively brittle. Damage to enamel bathtubs can be caused by various factors. The most common causes include heavy objects falling, such as showerheads, or careless handling of heavy and sharp objects. Additionally, enamel can be damaged by intensive cleaning with abrasive cleaning agents or tools. The enamel layer is also susceptible to damage from chemical reactions with aggressive cleaning products.

Popular Methods for Repairing Enamel Bathtubs
There are several ways to repair an enamel bathtub. The most popular methods include:
Enamel Repair Kits: For minor scratches and cracks, special enamel repair kits are often used. These kits contain fillers that fill in scratches, chips, and cracks. These fillers are designed to adhere firmly to the enamel, providing a durable solution.
Acrylic Liners: For extensive damage, it is advisable to use an acrylic liner, which professionals install into the bathtub. This method is ideal for bathtubs with numerous or extensive damages that are difficult to repair with just a filler.
Professional Refinishing: Professional restoration involves a complete repair and renewal of the bathtub surface. This process can include removing the old enamel and applying a new layer, bringing the bathtub back to a nearly new condition.
Expert Tips for Repairing Enamel Bathtubs
Experts recommend following these procedures when repairing an enamel bathtub:
Thorough Surface Preparation: Before applying filler, it is important to thoroughly clean and degrease the bathtub surface. This step ensures that the filler adheres properly and provides a long-lasting solution.
Using Quality Materials: Use high-quality fillers based on polyurethane or epoxy for the best results. These materials are designed to be resistant to water and chemicals commonly used in bathrooms.
Applying in Thin Layers: Apply the filler in thin layers and allow each layer to dry thoroughly. This approach minimizes the risk of cracking or peeling of the filler.
Protecting Surrounding Areas: Cover drains, fixtures, and faucets with foil to prevent damage or staining. This prevents accidental damage during the repair and makes cleanup easier.
Step-by-Step Guide: Repairing Enamel Bathtubs
Prepare the Bathtub
First, thoroughly clean the bathtub to remove dust, grease, and any rust. Use a rust cleaner or a mixture of salt and lemon juice. Let it sit for 24 hours and then rinse the bathtub. This step ensures that the surface is clean and ready for filler application.
Sand the Damaged Area
Sand the damaged area with fine-grit sandpaper. Smooth out sharp edges and remove any unevenness. Clean the bathtub of dust and let it dry. This step is crucial to ensure a smooth and even surface for the filler application.
Apply the Filler
Apply the enamel filler using a brush or stick. Try to apply the thinnest layer possible. If the damage is deeper, apply a second layer after the first layer has dried (approximately 6 hours). This ensures that the filler is strong and durable.
Cure the Filler
Allow the filler to cure. Although it will dry in approximately 6 hours, it reaches maximum hardness after 24 hours. During this time, do not fill the bathtub with water. This step is essential for achieving a strong and long-lasting repaired surface.
Finish the Repair
Smooth out any excess filler with sandpaper and remove any stains with acetone. The bathtub is now ready for use. This final step ensures that the surface of the bathtub is smooth and aesthetically pleasing.
Why It’s Important to Leave Repairs to Professionals
DIY enamel bathtub repair can be effective for minor damage, but for more extensive issues, it is advisable to seek professional help. Professional repair ensures:
Quality Results: Professionals use specialized tools and materials, ensuring long-lasting results. Professional repair can significantly extend the lifespan of your bathtub and improve its appearance.
Comprehensive Approach: Professionals handle the complete renovation of the bathtub, including installing an acrylic liner if necessary. This approach ensures that all aspects of the repair are carefully and thoroughly addressed.
Time Savings: Professional bathtub repair is faster and more efficient than DIY attempts. Professionals have the experience and equipment necessary to quickly and effectively perform the repair.
- Warranty: Professional companies often provide a warranty on their work, giving you peace of mind. A warranty ensures that the repair is done correctly and that you can address any issues that may arise in the future.
Entrusting the repair to professionals ensures that your bathtub will be like new again, allowing you to enjoy the comfort and aesthetic appearance of your bathroom without any worries. Investing in a professional repair pays off in terms of the long-term quality and functionality of the bathtub. Moreover, you can easily and quickly find specialists for such repairs on the WeCan platform.