We’re currently performing technical maintenance. Some features may be temporarily unavailable. Thank you for your understanding.
How to Repair Wooden Floors: Expert Tips
Should you call a handyman right away, or try to handle the problem yourself?
If you want to save money and test your own skills, this article will guide you step by step on how to solve the issue and help you understand when DIY is a good idea — and when it’s better to trust a professional.
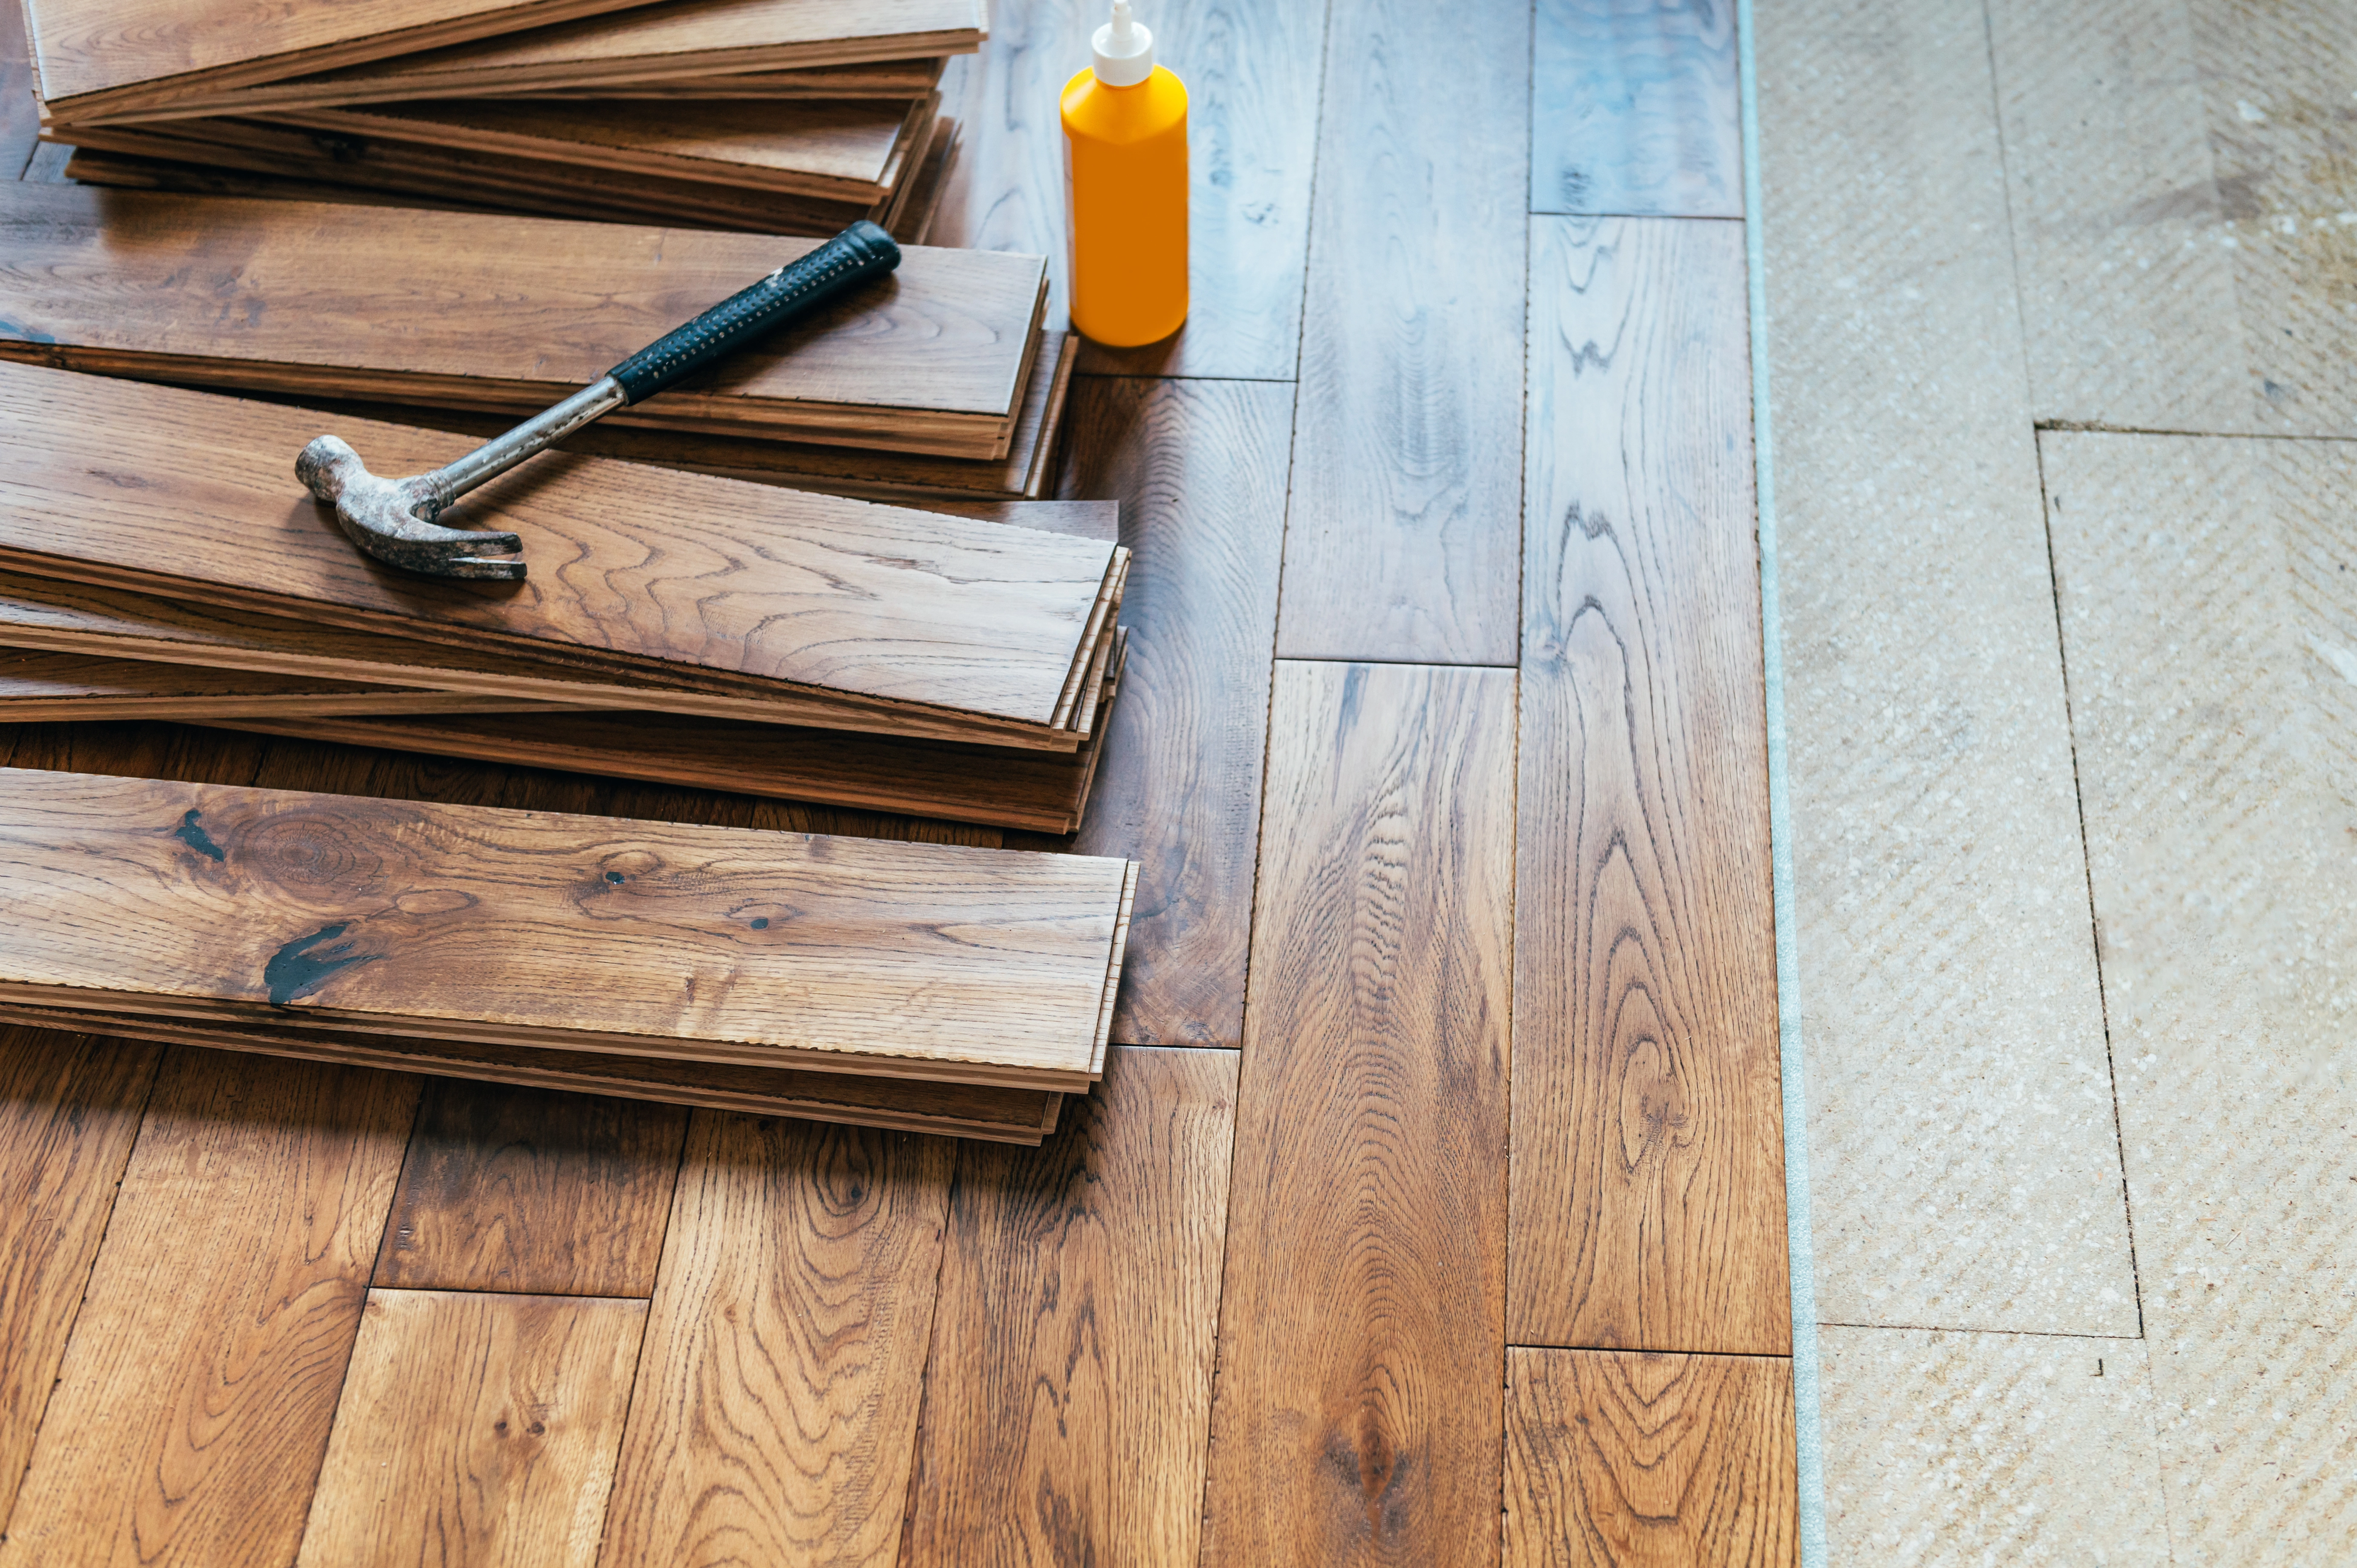
Wooden floors are prized for their natural appearance, warmth, and longevity. These floors can last for decades, even centuries, but they require regular maintenance and occasional repair. Over time and with wear and tear, various damages such as scratches, cracks, or squeaks may appear, requiring repair. Repairing wooden floors involves removing damaged parts, replacing boards, sanding, and applying a new finish. In this article, we will look at the main stages of wooden floor repair, restoration techniques, and expert advice. We will also learn how to repair a wooden floor step-by-step and why it is beneficial to entrust this work to professionals.
Main Stages of Wooden Floor Repair
Repairing a wooden floor typically involves several key steps: identifying the damaged area, removing damaged elements, preparing the subfloor, performing the actual repair, and finishing touches. Depending on the extent of the damage, it may be necessary to partially or completely dismantle the floor, replace damaged parts with new wood, and finally sand and treat the surface. Here are the main stages:
Inspection and Preparation:
First, thoroughly inspect the floor's condition. Remove all coverings, such as carpets or linoleum, and carefully evaluate the condition of the wooden boards and supporting structure.
Removing Damaged Parts:
If boards or other parts of the floor are damaged, they need to be removed. This also includes removing any wood-decay fungi and contaminated underlay that could cause further damage.
Subfloor Preparation:
Before laying new boards, the subfloor needs to be prepared. This may involve applying a new underlay, leveling the subfloor, and ensuring its stability.
Laying New Boards:
New boards are laid on the prepared subfloor. It is important that they are well-secured, level, and have the proper expansion gaps.
Surface Finishing:
Finally, the floor is sanded and a finish is applied, such as varnishing or oiling, to give the floor a protective layer and aesthetic appearance.
Repair and Restoration Techniques
There are several techniques and types of repairs that can be used when repairing and restoring a wooden floor. Each technique has its advantages and is suitable for different types of damage:
Sanding:
Sanding is one of the most common techniques used to remove old finishes, minor unevenness, and surface damage. A parquet sander is used, ensuring even sanding to the required depth.
Filling:
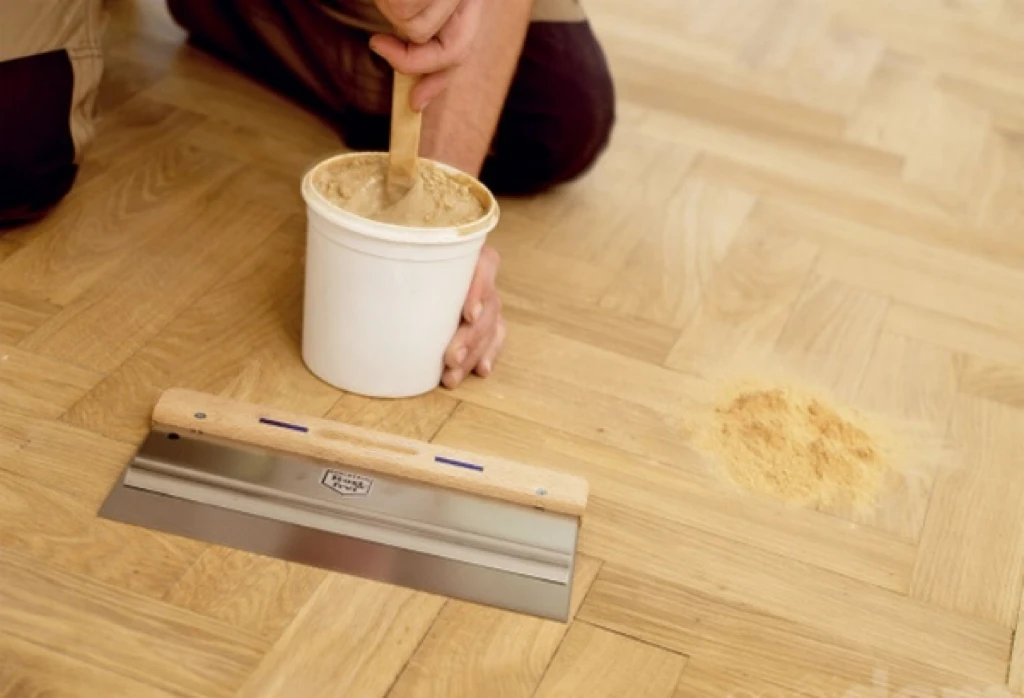
If there are gaps or cracks in the floor, a filler mixed with sawdust is used to fill these defects. Filling is important to ensure a smooth and solid surface before applying the final finish.
Varnishing:
Varnishing gives the wooden floor high resistance to abrasion and mechanical damage. Varnishes can be matte, semi-matte, or glossy and often contain anti-slip additives.
Oiling:
Oiling emphasizes the natural look of the wood and allows it to «breathe.» Oiled floors have a pleasant surface and can be more easily repaired locally in case of minor damage.
Professional Expert Tips
Wood floor repair experts recommend several key steps to ensure longevity and high-quality results.
Key Floor Repair Recommendations:
Use Quality Materials:
Invest in high-quality fillers, varnishes, and oils to ensure the longevity of the repaired floor. For example, the Bona brand offers high-quality products for sanding, filling, and surface finishing of wooden floors.
Proper Tools:
For sanding and varnishing, it is important to use the right tools, such as a parquet sander with dust extraction and quality applicators for varnish or oil. Using the right tools ensures professional results.
Follow Technical Procedures:
Each technique has specific steps that must be followed. For example, when sanding, it is important to gradually move from coarser to finer grit sandpaper to achieve a perfectly smooth surface.
Regular Maintenance:
After the repair, it is important to regularly clean and treat the floor with appropriate products. Dry cleaning, such as vacuuming and sweeping, is gentle on the surface. Wet mopping should be done with minimal water and special cleaners for wooden floors.
Step-by-Step Guide to Wooden Floor Repair
Detailed guide on how to repair a wooden floor step-by-step:
Remove Skirting Boards and Thresholds:
First, remove all skirting boards and thresholds around the floor. This step will allow easy access to the entire floor surface.
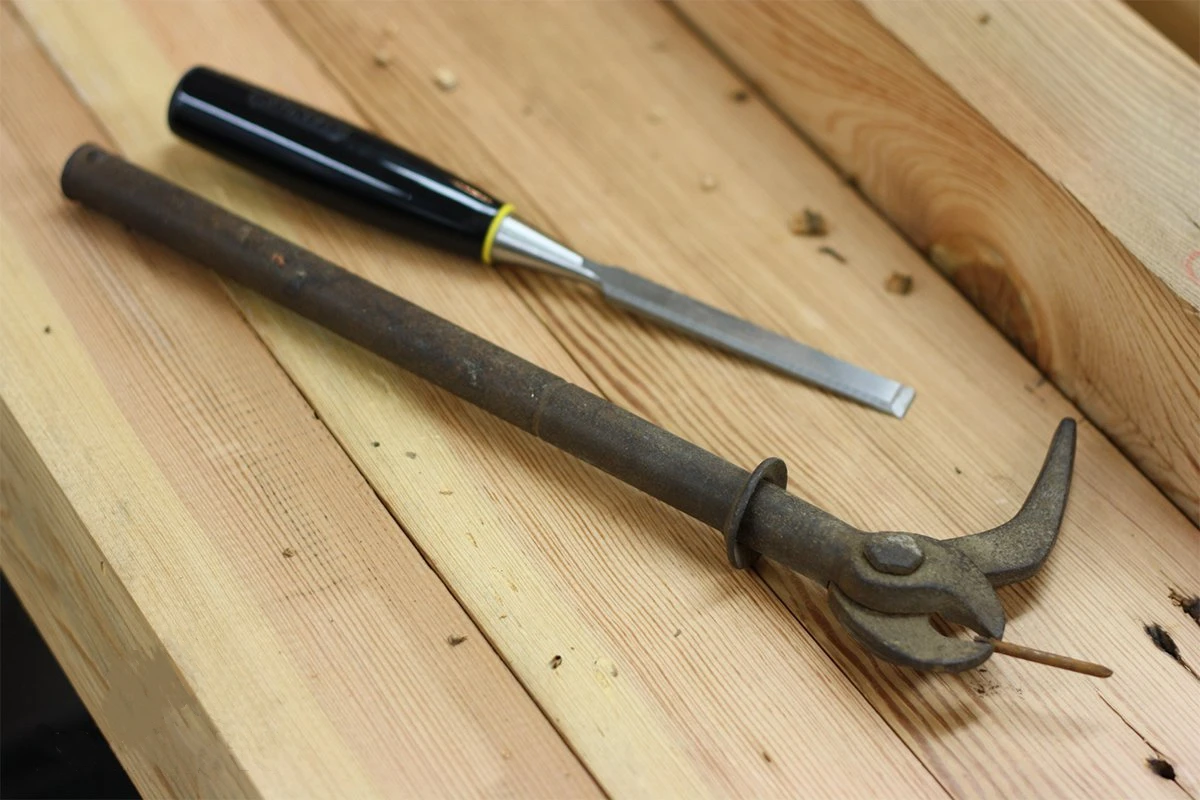
Inspection and Nail Removal:
Inspect the floor and remove any protruding nails and metal objects that could damage the sander or cause unevenness.
Sanding the Floor:
Use a parquet sander to sand the floor surface to a depth of 1-3 mm, depending on the extent of the damage. It is important to use sandpaper of various grits, from coarse to fine, to achieve a smooth and even surface.
Filling Gaps and Cracks:
Mix sawdust with filler and fill all gaps and cracks in the floor. Allow the filler to dry thoroughly and then sand again to ensure a smooth surface.
Second Sanding:
After the filler has dried, sand the floor again to ensure it is smooth and even. This step will prepare the floor surface for the final finish.
Surface Finishing:
Apply varnish or oil as preferred. Allow each coat to dry thoroughly and sand lightly with fine sandpaper between coats. Varnish provides high durability, while oil emphasizes the natural beauty of the wood.
Reinstall Skirting Boards and Thresholds:
After completing the surface finishing, reinstall the skirting boards and thresholds. This step completes the repair, and the floor will look like new.
Why It Is Important to Entrust the Repair to Professionals
Entrusting wooden floor repair to professionals has several significant advantages. Professionals have extensive experience and expertise, ensuring that the repair is done correctly and with high quality. They have access to specialized tools and repair materials that are not typically available to DIY enthusiasts. Repairing an old wooden floor is a complex and time-consuming task that professionals can complete faster and more efficiently, saving you a lot of time and effort. Instead, you can dedicate your time to other activities. Many companies offer warranties on their work, meaning that if problems arise, you are entitled to free repairs, providing peace of mind and assurance that your investment in floor repair is well protected. Experts can also be easily and freely found on the wecan.cz platform, which makes the whole process even easier for you.
Repairing a wooden floor by hand can be challenging, but with these tips and procedures, you can manage it. However, if you are not confident in your abilities or lack the necessary equipment, it is always better to contact professionals who guarantee a high-quality and durable result. Investing in professional repair pays off as it extends the life of your wooden floor and maintains its beauty for many years.