How to Repair a Floating Floor: Expert Tips
How to Repair a Floating Floor: Expert Tips
Floating floors are a popular solution for many households due to their easy installation, aesthetic appeal, and reasonable cost. However, over time, several issues may arise that need to be addressed. In this article, you will learn how to repair a floating floor damaged by water and everything you need to know for a successful repair. We will cover the main causes of floating floor damage, the tools needed for repair, and step-by-step instructions on how to proceed with repairing a floating floor. This article is intended for both DIY enthusiasts and those who want to understand why they might need professional help.

Main Causes of Floating Floor Damage
Floating floors can suffer from various types of damage, which have different causes. The main ones are high load, moisture, and improper installation. It is important to recognize these causes to carry out effective repairs and prevent further damage. In addition to these main causes, issues may also arise from inadequate maintenance or the use of inappropriate cleaning products. Each of these factors can negatively affect the appearance and functionality of your floor.
High Load on the Floor
Excessive load can cause mechanical damage to a floating floor. Heavy objects, constant movement of furniture, or impacts from sharp objects can lead to cracks and scratches. Regular use can also cause wear and creaking, often caused by friction between individual planks or between the floor and the subfloor. If the floor is not strong enough, it can sag and creak when walked on, which is not only unpleasant but also a sign of potential damage.
Moisture and Water Damage
One of the biggest enemies of a floating floor is moisture. Water can get under the floor and cause swelling and deformation of the materials. A floating floor can resist water to some extent, but prolonged exposure to moisture can lead to serious damage, such as rot and mold. If the floor is exposed to high humidity, such as in a kitchen or bathroom, it is essential to use an appropriate underlayment and seal the edges against moisture penetration. Water damage can also result from accidents, such as a leaking washing machine or water escaping from pipes, which requires a quick and effective repair to prevent permanent floor damage.
Improper Installation and Materials
Mistakes during installation can cause problems and defects with the floating floor. Incorrectly done expansion gaps, poor underlayment, or substandard materials can lead to shifting planks, lifting, and creaking. Proper installation is key to the floor's longevity. If the floor is not laid correctly, the weight distribution can be incorrect, causing the floor to not sit properly on the subfloor. Improper installation can also cause the planks to move or separate, creating gaps and unevenness. Using substandard materials, such as weak or poor-quality planks, can also lead to premature wear and damage.
Tools Needed for Floating Floor Repair
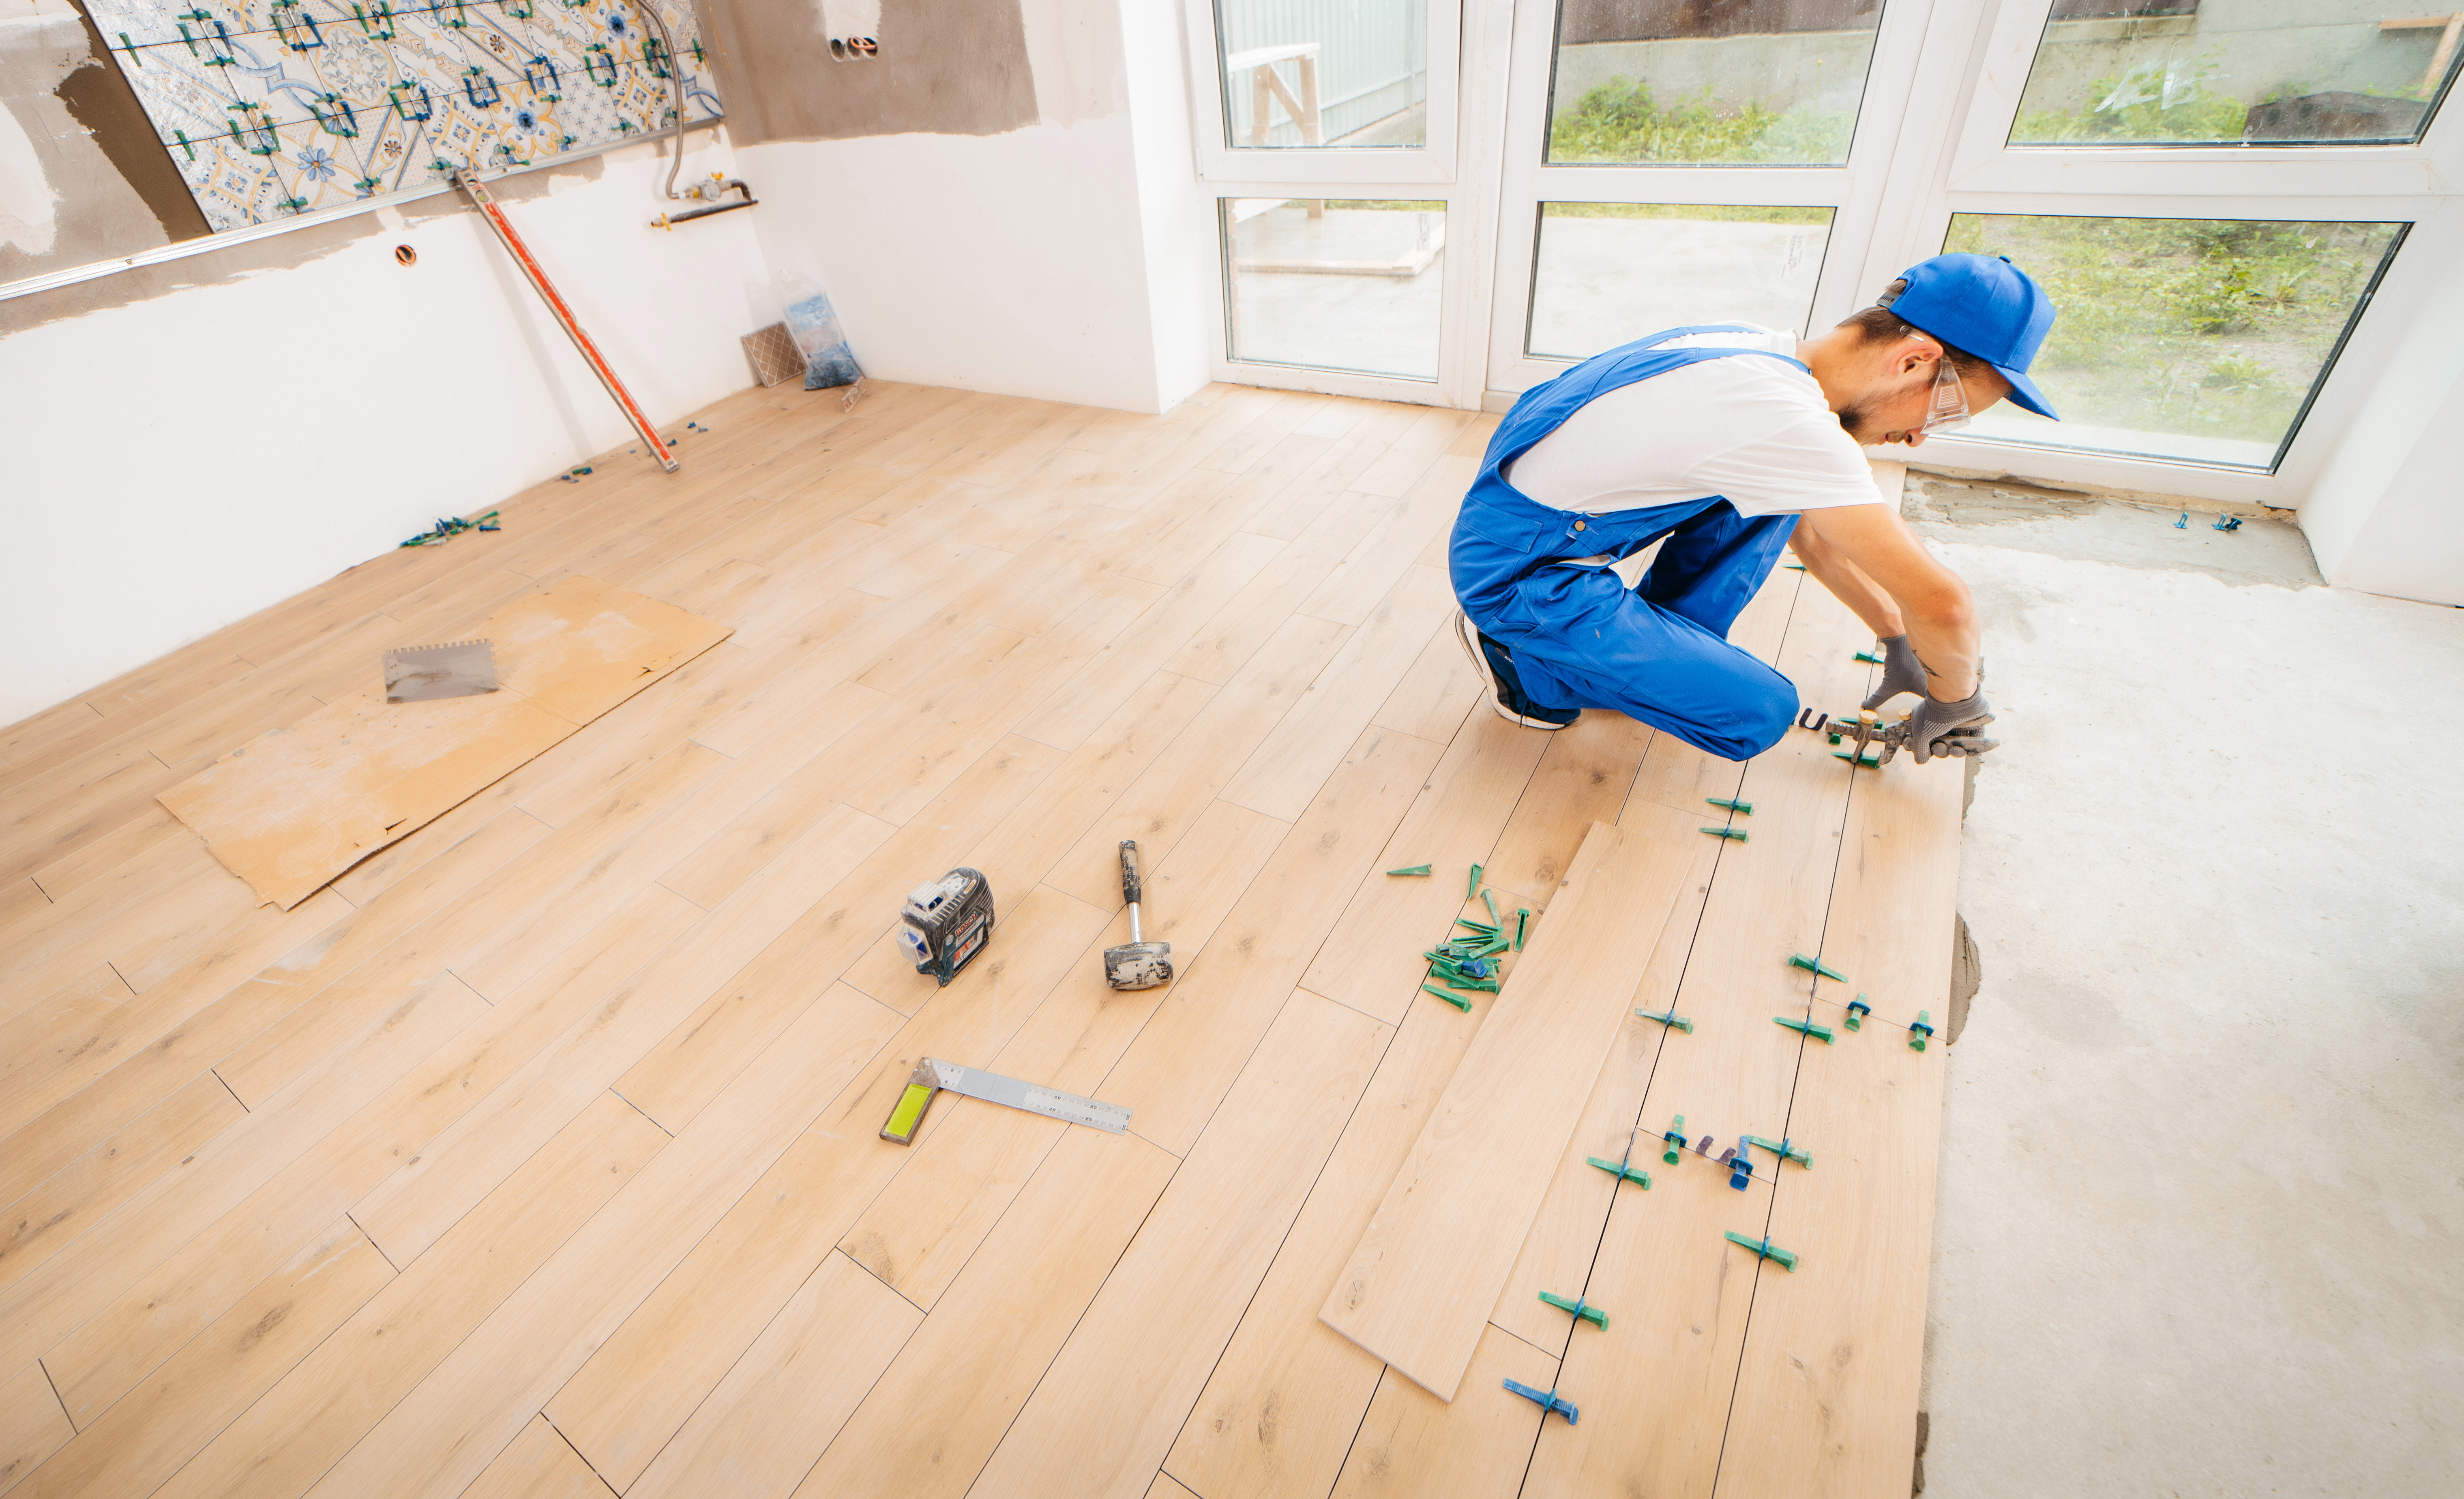
Before starting the repair, it is important to have the right tools on hand. Basic equipment includes:
- Hammer: Essential for driving planks back into place.
- Tapping block: Helps evenly press down planks.
- Floor scissors: Useful for cutting and trimming planks.
- Expanding foam: Used to fill gaps under the floor.
- Permanent marker for floors: For repairing surface scratches.
- Floor wax or filler: For repairing deeper grooves and cracks.
- Drill: For making holes to apply expanding foam.
- Balloon pump: Helps with applying expanding foam.
- Plastic spatula: For removing excess wax or filler.
Protective gloves and glasses: For safe handling of tools and materials.

Step-by-Step: How to Repair a Floating Floor
When repairing a floating floor, it is important to proceed systematically. The following steps will help you carry out the repair efficiently and with minimal stress.
- Preparatory Work
Before starting the repair, thoroughly inspect the damaged part of the floor. Identify all problems and determine whether you need to remove individual planks or repair the entire area. Prepare all necessary tools and materials. Ensure you have enough space to work and that surrounding areas are protected from damage.
- Choosing Materials and Tools
For a successful repair, it is important to have the right materials that match the original floor. Choose wax or filler in a matching color and ensure that replacement planks are the same type and color as the original floor. Before purchasing, take a sample of the original floor to accurately choose the correct materials.
Repairing Damage
Scratches: For minor scratches on the floor, you can use a permanent marker for floors. Simply run the marker over the scratched areas, and you won't notice that there were any scratches on the floor. This method is suitable for shallow scratches. For deeper grooves, use floor wax or filler. Heat the wax with a soldering iron and fill the grooves. Remove excess wax with a plastic spatula. This process requires more effort, but the result is worth it, as the surface will be smooth and free of defects again.
Air Gaps: If the floor is not laid on a flat subfloor, use expanding foam to fill air gaps. Drill small holes in problem areas and use a balloon pump to apply the expanding foam. Cover the holes with masking tape and let the foam expand and fill the gaps. This process may require several repetitions to properly fill all gaps. Be careful to apply only a small amount of foam, as it expands and could cause the floor to bulge.
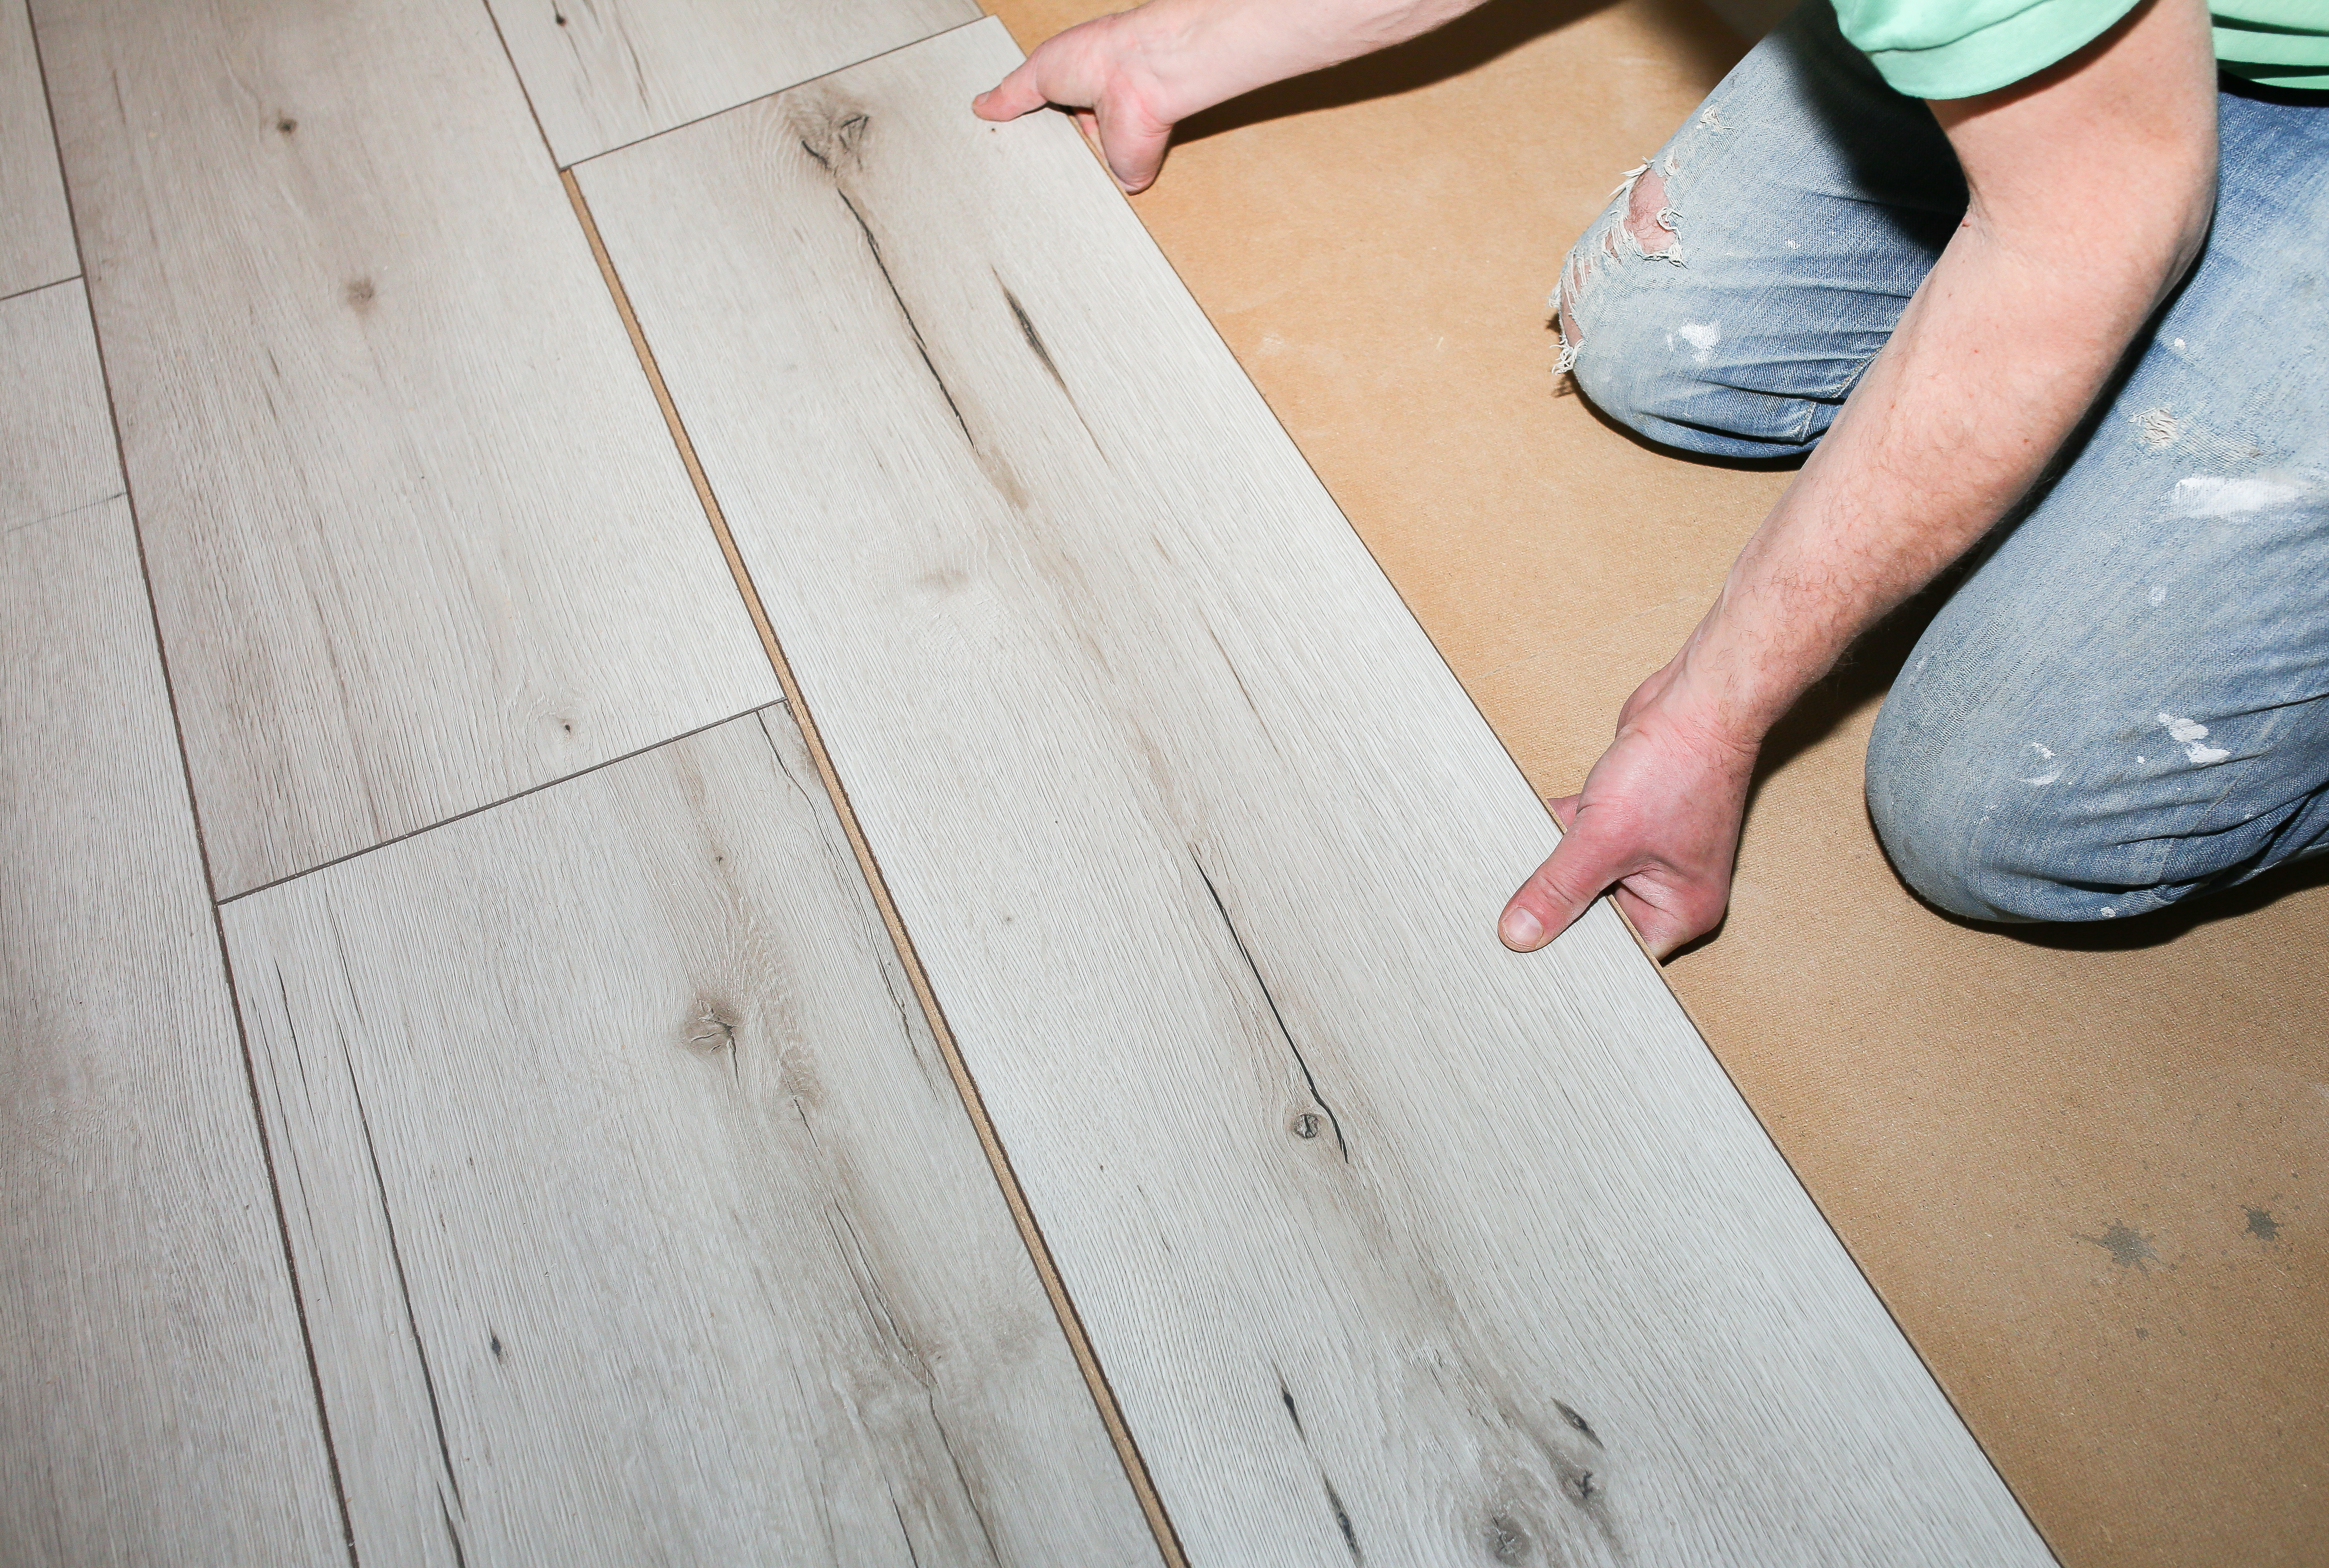
Moisture: In case of water damage, you need to disassemble the floor and inspect individual planks. Replace damaged planks and reassemble the floor. Before reassembling the floor, it is important to remove all moisture and check for mold. If the floor is significantly damaged, you may need to replace the entire affected section.
- Finishing Touches
After completing the repairs, carefully inspect the entire floor. Make sure all planks are properly seated and the surface is smooth. If necessary, make final adjustments and clean the floor. Use a soft cloth or mop and a gentle cleaning agent to remove all dust and dirt from the repaired areas. Avoid using excessive water to prevent further floor damage.
Additional Tips for Maintaining a Floating Floor
Regular Cleaning: Regularly sweep or vacuum the floor to remove dust and dirt that can cause scratches. Use a soft mop and gentle cleaning agents designed for floating floors.
Water Protection: Avoid using excessive water when cleaning the floor. If water spills, wipe it up immediately to prevent moisture from penetrating under the floor.
Scratch Protection: Use protective pads under furniture and avoid dragging heavy objects across the floor. If you have pets, regularly trim their claws to prevent scratches on the floor.
Regular Inspections: Regularly check the condition of the floor, especially in areas exposed to high traffic or moisture. Early detection and repair of minor issues can prevent major damage.
Why It's Important to Hire Professionals for Repairs
Although it may seem that repairing a floating floor is simple, it often requires expert knowledge and experience. Professionals have the necessary equipment and skills to ensure that the repair is done correctly and efficiently. Incorrectly performed repairs can lead to further problems and increase the cost of future repairs. Experts also know what materials and techniques to use for specific types of damage and can provide a warranty on their work.
Another advantage of professional repair is time savings. Professionals can repair the floor faster and more efficiently than you could do it yourself, saving you time and effort. In addition, they can identify and address hidden issues that you might overlook, thereby preventing further damage to the floor in the future. You can easily find specialists on the WeCan platform, which brings together experts from various fields.
To extend the lifespan of your floating floor, don't forget about prevention and regular maintenance. Regularly check the condition of the floor and address issues immediately to prevent more serious damage and keep the floor in the best possible condition for a long time.
A floating floor is a great choice for many households due to its durability and easy maintenance. However, over time, various issues may arise that need to be addressed. Properly identifying the causes of damage, using the appropriate tools and materials, and carefully following the repair instructions can help extend the life of your floating floor. For complex repairs or uncertainty, always contact professionals who can ensure a high-quality and professional repair. With these tips and advice, you can be confident that your floating floor will look great and serve you well for many years.